SSO Configuration Example: Microsoft Azure
Step 1: Create a new Enterprise Application in the Azure Active Directory Portal
-
Within the Azure AD portal, select the
Enterprise Applicationsmenu item from the left-hand menu -
Click the
New applicationbutton on the button bar at the top of the screen -
Click the
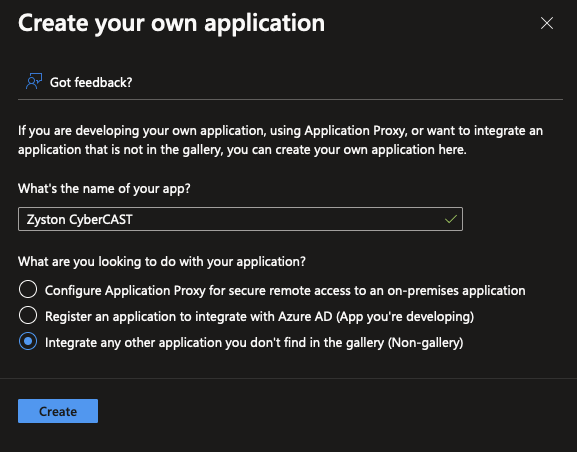
Create your own applicationbutton at the top of the next screen
Step 2: Provide a Descriptive Name for the Application
-
Set the Application Name to
Zyston Cybercast -
Click
Createat the bottom of the screen
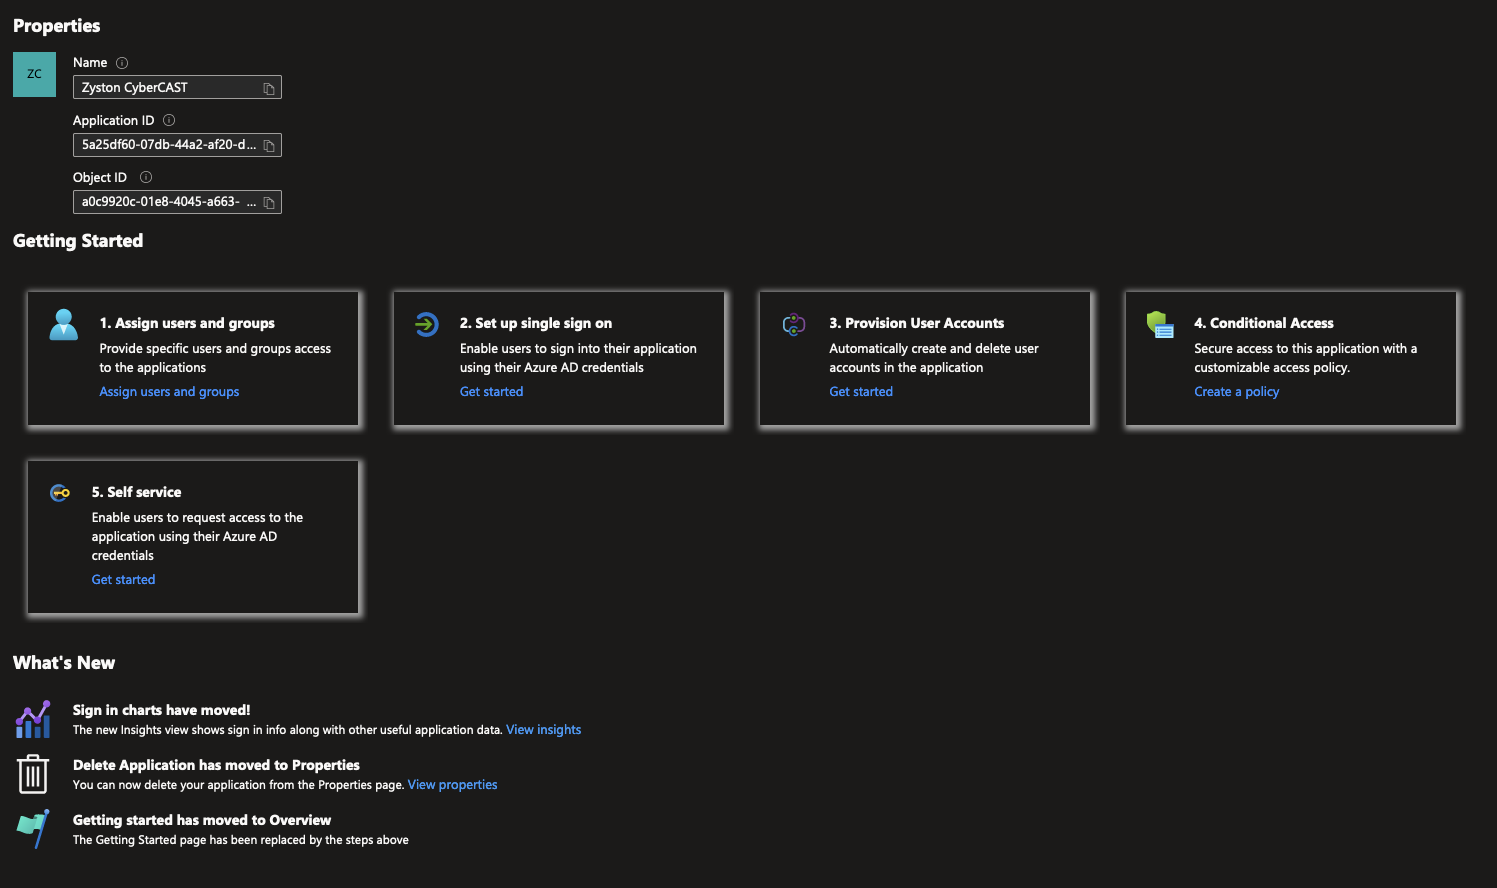
Step 3: Configure the Single Sign-On Settings
-
Click
Set up single sign on
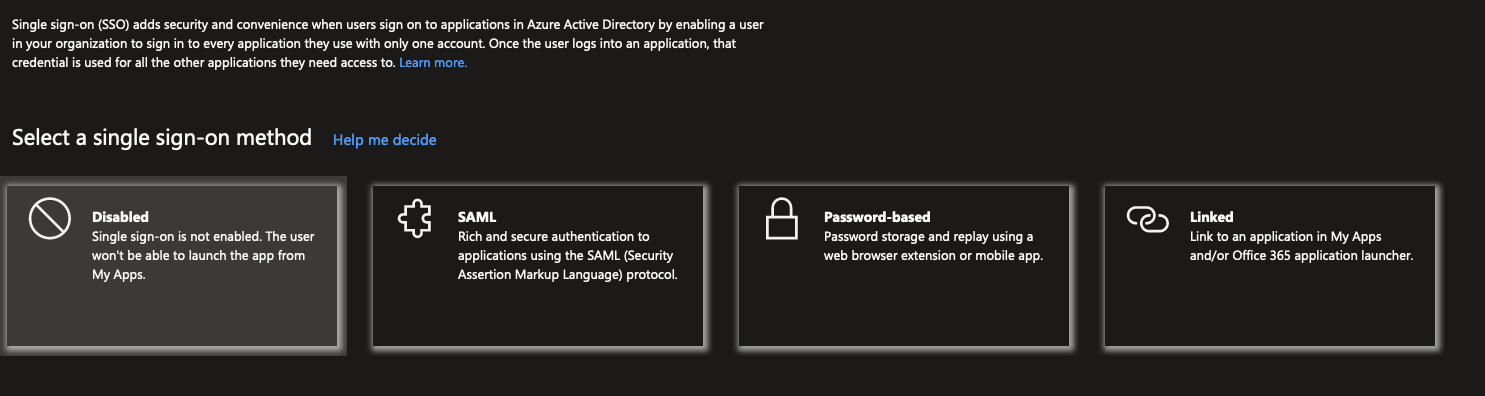
Step 4: Select SAML Sign-On Method
-
Click
SAML
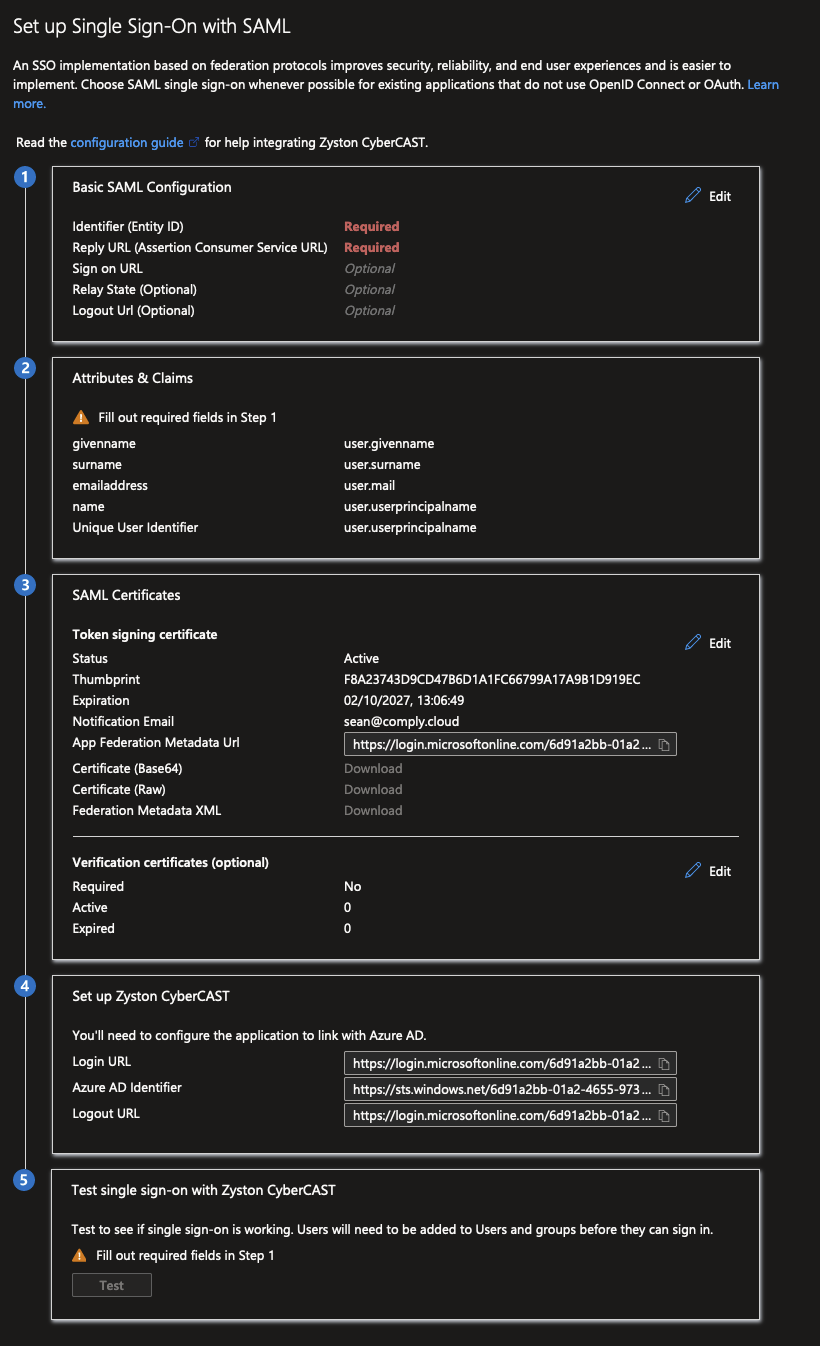
Step 5: Provide SAML Configuration
-
Click
Editin theBasic SAML Configurationsection -
Click
Add Identifierand enterhttps://cybercast.zyston.com -
Enter
https://cybercast.zyston.com/sso/saml/acsin theSign On URLfield -
Click
Save

Step 6: Capture the SAML Metadata URL
-
Copy the
App Federation Metadata URLin theSAML Certificatessection
Step 6: Enter the Metadata URL in the Zyston CyberCAST Portal
- Navigate to Settings
-
Click
Configure SSO - Enter the metadata URL copied in the previous step
-
Click
Continue